

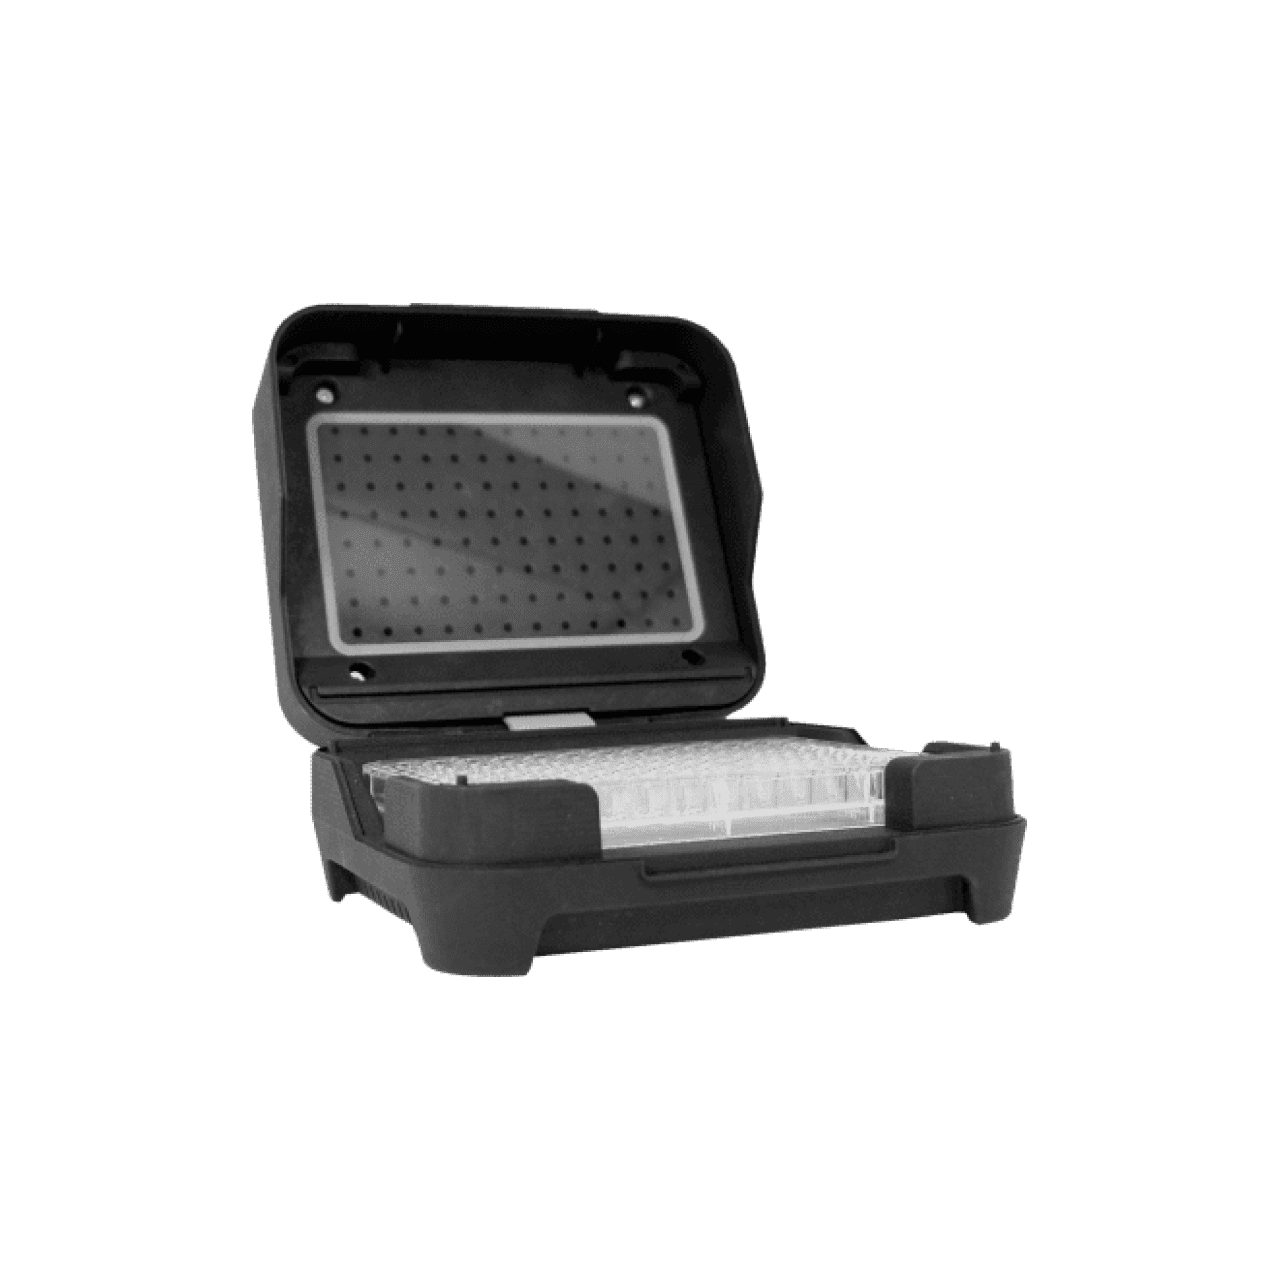


Thermocycler Module
The Thermocycler Module provides on-deck, fully automated thermocycling, and can heat and cool very quickly during operation. The module’s block can reach and maintain temperatures between 4 and 99 °C. The module’s lid can heat up to 110 °C.
The Thermocycler is represented in code by a ThermocyclerContext object, which has methods for controlling the lid, controlling the block, and setting profiles — timed heating and cooling routines that can be repeated automatically.
For each module action, the API lets you choose whether to perform other protocol steps while controlling the Thermocycler Module. To do this, you can design your protocol to run in a blocking or concurrent manner:
Blocking commands: The robot will pause and wait, performing no other actions until the module executes a profile or reaches the target lid or block temperature.
Concurrent commands: The robot continues to perform other pipetting and some other module actions while controlling the Thermocycler Module.
Action |
Method |
Type |
|---|---|---|
Lid Control |
Blocking |
|
Lid Control |
Concurrent |
|
Block Control |
Blocking |
|
Block Control |
Concurrent |
|
Profiles |
Blocking |
|
Profiles |
Concurrent |
This section covers using the Thermocycler Module, including its blocking and concurrent commands. The examples in this section will use a Thermocycler Module GEN2 loaded as follows:
tc_mod = protocol.load_module(module_name="thermocyclerModuleV2")
plate = tc_mod.load_labware(name="opentrons_96_wellplate_200ul_pcr_full_skirt")
New in version 2.13.
Lid Control
The Thermocycler can control the position and temperature of its lid.
To change the lid position, use open_lid() and close_lid(). Changes in lid position are blocking. While the Thermocycler Module’s lid is opening or closing, the robot won’t perform other steps in your protocol. Once the lid is open, pipettes are able to access the loaded labware.
You can also control the temperature of the lid. Acceptable target temperatures are between 37 and 110 °C. To set the lid temperature, choose between a blocking and concurrent command. Each takes one parameter: the target temperature (in degrees Celsius) as an integer.
tc_mod.set_lid_temperature(temperature=50)
When you use a blocking method like set_lid_temperature(), your protocol will only proceed once the lid temperature reaches 50 °C. This is the case whether the previous temperature was lower than 50 °C (in which case the lid will actively heat) or higher than 50 °C (in which case the lid will passively cool).
New in version 2.0.
tc_mod.start_set_lid_temperature(temperature=50)
Use the concurrent start_set_lid_temperature() method to allow your protocol to proceed while the lid heats.
New in version 2.27.
You can turn off the lid heater at any time with deactivate_lid().
Note
Lid temperature is not affected by Thermocycler profiles. Therefore you should set an appropriate lid temperature to hold during your profile before executing it. See Thermocycler Profiles for more information on defining and executing profiles.
Block Control
The Thermocycler can control its block temperature, including holding at a temperature and adjusting for the volume of liquid held in its loaded plate.
Temperature
To set the block temperature inside the Thermocycler, you can use either a blocking or concurrent method. At minimum, both require a temperature in degrees Celsius.
tc_mod.set_block_temperature(temperature=4)
When you use a blocking method like set_block_temperature(), your protocol will only proceed once the block temperature reaches 4 °C.
New in version 2.0.
tc_mod.start_set_block_temperature(temperature=50)
Use the concurrent start_set_block_temperature() method to perform other protocol steps while the block reaches its target temperature.
New in version 2.27.
If you don’t specify any other parameters, the Thermocycler will hold this temperature until a new temperature is set, deactivate_block() is called, or the module is powered off.
New in version 2.0.
Timing Temperature Holds
You can optionally instruct the Thermocycler to hold its block temperature for a specific amount of time. Both examples below set the block to 4 °C for 4 minutes and 15 seconds:
tc_mod.set_block_temperature(
    temperature=4,
    hold_time_minutes=4,
    hold_time_seconds=15)
pipette.pick_up_tip()
pipette.aspirate(50, plate["A1"])
pipette.dispense(50, plate["B1"])
pipette.drop_tip()
When you use the blocking set_block_temperature() command, you can specify hold_time_minutes, hold_time_seconds, or both (in which case they will be added together). Here, the Temperature Module reaches the target temperature and the robot holds for 4 minutes and 15 seconds. Your protocol won’t proceed to further commands until the target temperature is reached and the hold is completed.
If you don’t specify a hold time, the protocol will proceed as soon as the target temperature is reached.
New in version 2.0.
# set block temperature
cool_task = tc_mod.start_set_block_temperature(celsius=4)
# complete pipetting actions while the block cools
pipette.pick_up_tip()
pipette.aspirate(50, plate["A1"])
pipette.dispense(50, plate["B1"])
pipette.drop_tip()
# wait for the block to reach the target temperature
protocol.wait_for_tasks([cool_task])
# hold samples on the block at target temperature
block_timer = create_timer(seconds=255)
protocol.wait_for_tasks(block_timer)
The concurrent start_set_block_temperature() command doesn’t accept the same time arguments. Instead, use ProtocolContext.create_timer() to proceed to the next steps in the protocol. Here, the robot will perform the pipetting actions while the block reaches its target temperature. Once the protocol reaches the ProtocolContext.wait_for_tasks() commands, the robot pauses and waits for the block to finish cooling or holds for the remainder of the timer.
New in version 2.27.
Block Max Volume
The Thermocycler’s block temperature controller varies its behavior based on the amount of liquid in the wells of its labware. Accurately specifying the liquid volume allows the Thermocycler to more precisely control the temperature of the samples. You should set the block_max_volume parameter to the amount of liquid in the fullest well, measured in µL. If not specified, the Thermocycler will assume samples of 25 µL.
It is especially important to specify block_max_volume when holding at a temperature. For example, say you want to hold larger samples at a temperature for a short time:
tc_mod.set_block_temperature(
    temperature=4,
    hold_time_seconds=20,
    block_max_volume=80)
New in version 2.0.
# set block temperature and max volume
cool_task = tc_mod.start_set_block_temperature(
    temperature=4,
    block_max_volume=80)
# set time to hold the block at temperature
block_timer = protocol.create_timer(seconds=20)
# wait for the block to reach and hold at temperature
protocol.wait_for_tasks([cool_task, block_timer])
New in version 2.27.
In both examples, if the Thermocycler assumes these samples are 25 µL, it may not cool them to 4 °C before starting the 20-second timer. In fact, with such a short hold time they may not reach 4 °C at all!
Thermocycler Profiles
In addition to executing individual temperature commands, the Thermocycler can automatically cycle through a sequence of block temperatures to perform heat-sensitive reactions. These sequences are called profiles, which are defined in the Protocol API as lists of dictionaries. Each dictionary within the profile should have a temperature key, which specifies the temperature of the step, and either or both of hold_time_seconds and hold_time_minutes, which specify the duration of the step.
For example, this profile commands the Thermocycler to reach 10 °C and hold for 30 seconds, and then to reach 60 °C and hold for 45 seconds:
profile = [
    {"temperature":10, "hold_time_seconds":30},
    {"temperature":60, "hold_time_seconds":45}
]
Once you have written the steps of your profile, choose a blocking or concurrent command to execute it with. Both execute your profile steps multiple times depending on the repetitions parameter. Each also takes a block_max_volume parameter, which is the same as that of the set_block_temperature() and start_set_block_temperature() functions.
For instance, a PCR prep protocol might define and execute a profile like this:
profile = [
    {"temperature":95, "hold_time_seconds":30},
    {"temperature":57, "hold_time_seconds":30},
    {"temperature":72, "hold_time_seconds":60}
]
tc_mod.execute_profile(
    steps=profile,
    repetitions=20,
    block_max_volume=32)
When you use the blocking execute_profile() method, your protocol won’t proceed until the entire profile is complete.
New in version 2.0.
profile = [
    {"temperature":95, "hold_time_seconds":30},
    {"temperature":57, "hold_time_seconds":30},
    {"temperature":72, "hold_time_seconds":60}
]
tc_mod.start_execute_profile(
    steps=profile,
    repetitions=20,
    block_max_volume=32)
Beginning with API version 2.27, you can use the concurrent start_execute_profile() method to let the robot perform your next pipetting steps and some other module actions while your protocol runs. For more, see the Concurrent Module Actions section.
New in version 2.27.
In terms of the actions that the Thermocycler performs, running each of the examples above would be equivalent to nesting set_block_temperature (shown below) or start_set_block_temperature commands in a for loop:
for i in range(20):
    tc_mod.set_block_temperature(95, hold_time_seconds=30, block_max_volume=32)
    tc_mod.set_block_temperature(57, hold_time_seconds=30, block_max_volume=32)
    tc_mod.set_block_temperature(72, hold_time_seconds=60, block_max_volume=32)
However, this code would generate 60 lines in the protocol’s run log, while executing a profile is summarized in a single line. Additionally, you can set a profile once and execute it multiple times (with different numbers of repetitions and maximum volumes, if needed).
Note
Temperature profiles only control the temperature of the block in the Thermocycler. You should set a lid temperature before executing the profile using set_lid_temperature().
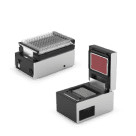
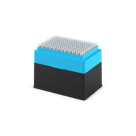
Auto-sealing Lids
Starting in robot software version 8.2.0, you can use the Opentrons Tough PCR Auto-sealing Lid to reduce evaporation on the Thermocycler. The auto-sealing lids are designed for automated use with the Flex Gripper, although you can move them manually if needed. They also work with the Opentrons Flex Deck Riser adapter, which keeps lids away from the unsterilized deck and provides better access for the gripper.
Use the following API load names for the auto-sealing lid and deck riser:
Labware |
API load name |
|---|---|
Opentrons Tough PCR Auto-sealing Lid |
|
Opentrons Flex Deck Riser |
|
Load the riser directly onto the deck with ProtocolContext.load_adapter().
- You can load auto-sealing lids in a few ways:
Load a single auto-sealing lid onto a compatible location (the deck, the riser, or another lid) with the appropriate
load_labware()method.Use
ProtocolContext.load_lid_stack()to create a stack of up to five auto-sealing lids directly on the deck.Use
Labware.load_lid_stack()to create a stack of up to five auto-sealing lids on the riser.
If you try to stack more than five lids, either by loading or moving them, the API will raise an error.
Setting up the riser and preparing a lid to use on the Thermocycler generally consists of the following steps:
Load the riser on the deck.
Load the lids onto the adapter.
Load or move a PCR plate onto the Thermocycler.
Move a lid onto the PCR plate.
Close the Thermocycler.
The following code sample shows how to perform these steps, using the riser and three auto-sealing lids. In a full protocol, you would likely have additional steps, such as pipetting to or from the PCR plate.
# load riser
riser = protocol.load_adapter(
    load_name="opentrons_flex_deck_riser", location="A2"
)

# load a stack of three lids
lid_stack = riser.load_lid_stack(
    load_name="opentrons_tough_pcr_auto_sealing_lid",
    quantity=3
)

# load plate on Thermocycler
plate = tc_mod.load_labware(name="opentrons_96_wellplate_200ul_pcr_full_skirt")

# move lid to PCR plate
protocol.move_lid(
    source_location=lid_stack,
    new_location=plate,
    use_gripper=True
)

# close Thermocycler
tc_mod.close_lid()
Warning
When using the auto-sealing lids, do not affix a rubber automation seal to the inside of the Thermocycler lid. The Thermocycler will not close properly.
When you’re finished with a lid, use the gripper to dispose of it in either the waste chute or a trash bin:
tc_mod.open_lid()
protocol.move_lid(
    source_location=plate,
    new_location=trash,
    use_gripper=True)
New in version 2.16: TrashBin and WasteChute objects can accept lids.
New in version 2.23: Use ProtocolContext.load_lid_stack() and ProtocolContext.move_lid() to stack and move auto-sealing lids in your protocol.
You can then move the PCR plate off of the Thermocycler. The Flex Gripper can’t move a plate that has a lid on top of it. Always move the lid first, then the plate.
Changes with the GEN2 Thermocycler Module
All methods of ThermocyclerContext work with both the GEN1 and GEN2 Thermocycler. One practical difference is that the GEN2 module has a plate lift feature to make it easier to remove the plate manually or with the Opentrons Flex Gripper. To activate the plate lift, press the button on the Thermocycler for three seconds while the lid is open. If you need to do this in the middle of a run, call pause(), lift and move the plate, and then resume the run.