


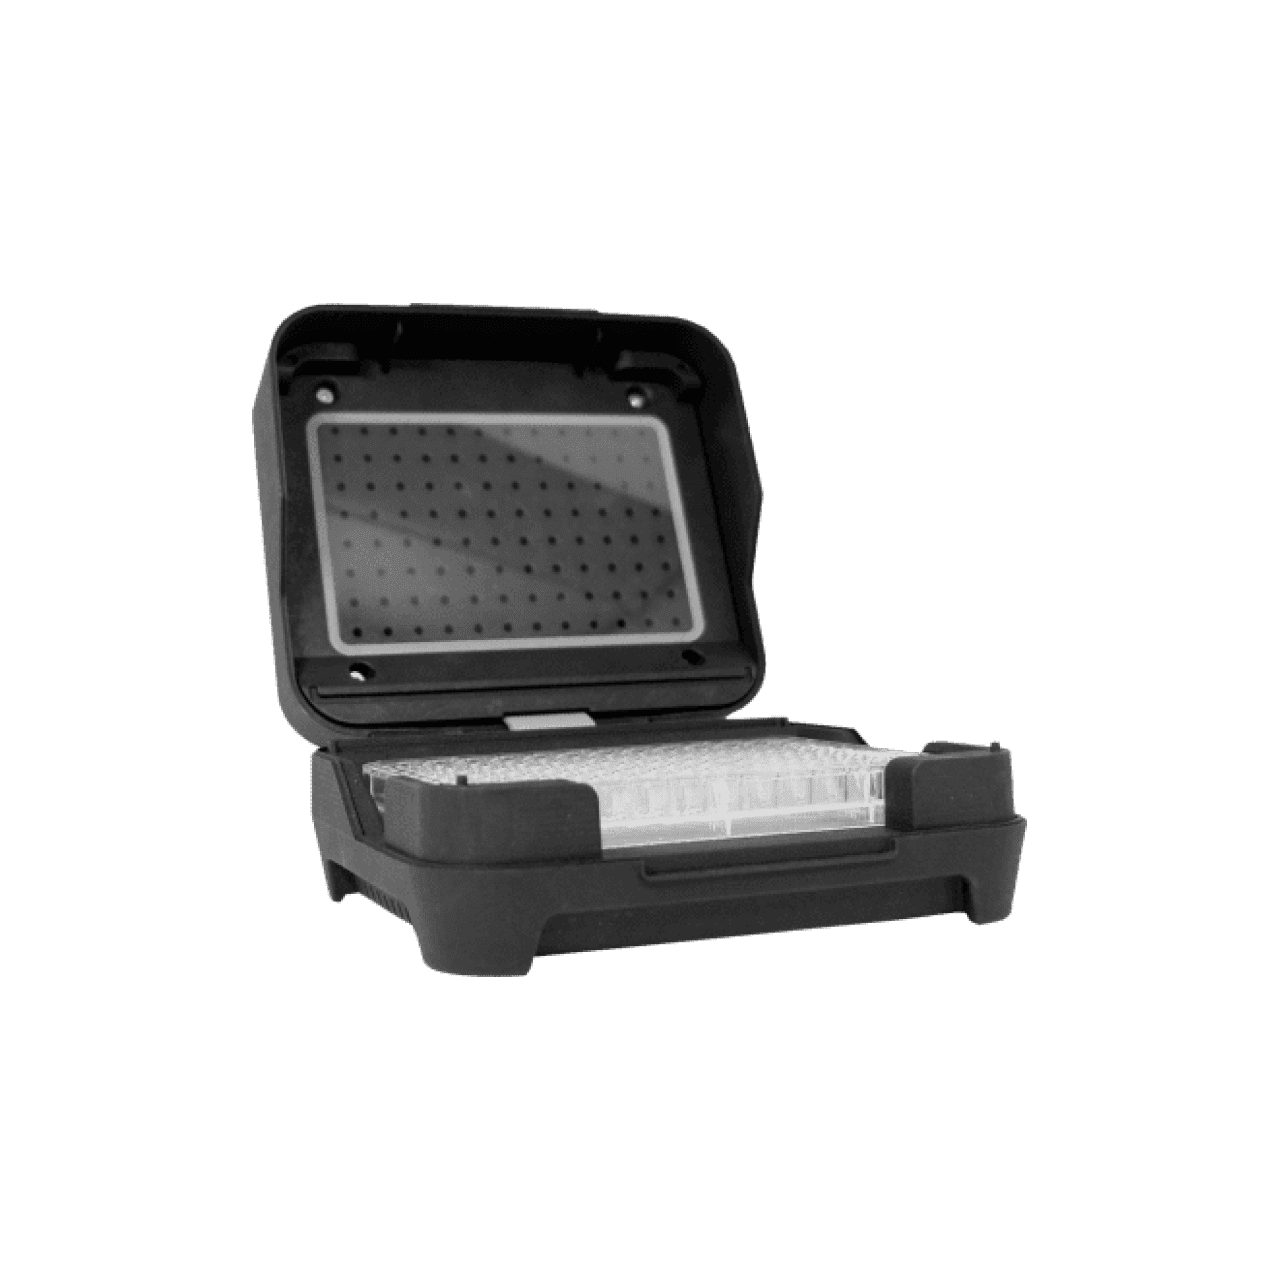


Heater-Shaker Module
The Heater-Shaker Module provides on-deck heating and orbital shaking. The module can heat samples to 95 °C, and can shake samples from 200 to 3000 rpm.
The Heater-Shaker Module is represented in code by a HeaterShakerContext object. For example:
hs_mod = protocol.load_module(
    module_name="heaterShakerModuleV1", location="D1"
)
New in version 2.13: The Heater-Shaker can heat samples from 37 to 95 °C.
Changed in version 2.25: The Heater-Shaker accepts target temperatures lower than 37 °C. Set the Heater-Shaker’s temperature at least 1.5 °C above ambient temperature.
Deck Slots
The supported deck slot positions for the Heater-Shaker depend on the robot you’re using.
Robot Model |
Heater-Shaker Deck Placement |
|---|---|
Flex |
In any deck slot in column 1 or 3. The module can go in slot A3, but you need to move the trash bin first. |
OT-2 |
In deck slot 1, 3, 4, 6, 7, or 10. |
OT-2 Placement Restrictions
On OT-2, you need to restrict placement of other modules and labware around the Heater-Shaker. On Flex, the module is installed below-deck in a caddy and there is more space between deck slots, so these restrictions don’t apply.
In general, it’s best to leave all slots adjacent to the Heater-Shaker empty. If your protocol requires filling those slots, observe the following restrictions to avoid physical crashes involving the Heater-Shaker.
Adjacent Modules
Do not place other modules next to the Heater-Shaker. Keeping adjacent deck slots clear helps prevents collisions during shaking and while opening the labware latch. Loading a module next to the Heater-Shaker on OT-2 will raise a DeckConflictError.
Tall Labware
Do not place labware taller than 53 mm to the left or right of the Heater-Shaker. This prevents the Heater-Shaker’s latch from colliding with the adjacent labware. Common labware that exceed the height limit include Opentrons tube racks and Opentrons 1000 µL tip racks. Loading tall labware to the right or left of the Heater-Shaker on OT-2 will raise a DeckConflictError.
8-Channel Pipettes
You can’t perform pipetting actions in any slots adjacent to the Heater-Shaker if you’re using a GEN2 or GEN1 8-channel pipette. This prevents the pipette ejector from crashing on the module housing or labware latch. Using an 8-channel pipette will raise a PipetteMovementRestrictedByHeaterShakerError.
There is one exception: to the front or back of the Heater-Shaker, an 8-channel pipette can access tip racks only. Attempting to pipette to non-tip-rack labware will also raise a PipetteMovementRestrictedByHeaterShakerError.
Latch Control
To add and remove labware from the Heater-Shaker, control the module’s labware latch from your protocol using open_labware_latch() and close_labware_latch(). Shaking requires the labware latch to be closed, so you may want to issue a close command before the first shake command in your protocol:
hs_mod.close_labware_latch()
hs_mod.set_and_wait_for_shake_speed(500)
If the labware latch is already closed, close_labware_latch() will succeed immediately; you don’t have to check the status of the latch before opening or closing it.
To prepare the deck before running a protocol, use the labware latch controls in the Opentrons App or run these methods in Jupyter notebook.
Loading Labware
Use the Heater-Shaker’s load_adapter() and load_labware() methods to specify what you will place on the module. For the Heater-Shaker, use one of the thermal adapters listed below and labware that fits on the adapter. See Loading Labware on Adapters for examples of loading labware on modules.
The Opentrons Labware Library includes definitions for both standalone adapters and adapter–labware combinations. These labware definitions help make the Heater-Shaker ready to use right out of the box.
Note
If you plan to move labware onto or off of the Heater-Shaker during your protocol, you must use a standalone adapter definition, not an adapter–labware combination definiton.
Standalone Adapters
You can use these standalone adapter definitions to load Opentrons verified or custom labware on top of the Heater-Shaker.
Adapter Type |
API Load Name |
|---|---|
Opentrons Universal Flat Heater-Shaker Adapter |
|
Opentrons Universal Flat Heater-Shaker Adapter Type B |
|
Opentrons 96 PCR Heater-Shaker Adapter |
|
Opentrons 96 Deep Well Heater-Shaker Adapter |
|
Opentrons 96 Flat Bottom Heater-Shaker Adapter |
|
For example, these commands load a well plate on top of the flat bottom adapter:
hs_adapter = hs_mod.load_adapter("opentrons_96_flat_bottom_adapter")
hs_plate = hs_adapter.load_labware("nest_96_wellplate_200ul_flat")
New in version 2.15: The load_adapter() method.
Pre-configured Combinations
The Heater-Shaker supports these thermal adapter and labware combinations for backwards compatibility. If your protocol specifies an apiLevel of 2.15 or higher, you should use the standalone adapter definitions instead.
Adapter/Labware Combination |
API Load Name |
|---|---|
Opentrons 96 Deep Well Adapter with NEST Deep Well Plate 2 mL |
|
Opentrons 96 Flat Bottom Adapter with NEST 96 Well Plate 200 µL Flat |
|
Opentrons 96 PCR Adapter with Armadillo Well Plate 200 µL |
|
Opentrons 96 PCR Adapter with NEST Well Plate 100 µL |
|
Opentrons Universal Flat Adapter with Corning 384 Well Plate 112 µL Flat |
|
This command loads the same physical adapter and labware as the example in the previous section, but it is also compatible with API versions 2.13 and 2.14:
hs_combo = hs_mod.load_labware(
    "opentrons_96_flat_bottom_adapter_nest_wellplate_200ul_flat"
)
New in version 2.13.
Custom Flat-Bottom Labware
Custom flat-bottom labware can be used with the Universal Flat Adapter. See the support article Requesting a Custom Labware Definition if you need assistance creating custom labware definitions for the Heater-Shaker.
Heating and Shaking
The API treats heating and shaking as separate, independent activities due to the amount of time they take. Increasing or reducing shaking speed takes a few seconds, while heating or letting the module passively cool takes more time.
In both cases, the API lets you choose whether to perform other protocol steps while heating and shaking. To do this, you can design your protocol to run in a blocking or concurrent manner:
Blocking commands: The robot will pause and wait, performing no other actions until the module reaches the required temperature or shake speed.
Concurrent commands: The robot continues to perform subsequent actions while heating or shaking. For example, continue pipetting, move labware, or run other modules.
Action |
Method |
Type |
|---|---|---|
Heating |
Blocking |
|
Heating |
Blocking |
|
Heating |
Concurrent |
|
Shaking |
Blocking |
|
Shaking |
Concurrent |
The sections below cover heating and shaking samples using the Heater-Shaker Module’s blocking and concurrent commands.
Heating
Heating the Heater-Shaker Module can take a much longer time than reaching a shake speed, depending on the thermal block used, the volume and type of liquid contained in the labware, and the initial temperature of the module.
The examples below use a blocking or concurrent command to set the Heater-Shaker Module to 75 °C.
hs_mod.set_and_wait_for_temperature(75)
pipette.pick_up_tip()
pipette.aspirate(50, plate["A1"])
pipette.dispense(50, plate["B1"])
pipette.drop_tip()
protocol.delay(minutes=1)
When you use a blocking command like set_and_wait_for_temperature(), your protocol proceeds completely linearly. No other commands will execute until the Heater-Shaker Module reaches the target temperature. In this example, the robot will perform the pipetting steps and protocol delay only after the module reaches 75 °C.
New in version 2.13.
hs_mod.set_target_temperature(75)
pipette.pick_up_tip()
pipette.aspirate(50, plate["A1"])
pipette.dispense(50, plate["B1"])
pipette.drop_tip()
protocol.delay(minutes=1)
To perform other actions while the module reaches its target temperature, use the concurrent set_target_temperature() command. Here, the robot will continue to perform pipetting steps and a protocol delay while the Heater-Shaker heats to 75 °C.
New in version 2.13.
Changed in version 2.27: Returns a Task that runs in the background of a protocol.
If you want the robot to continue pipetting while the module heats to prepare for a sample incubation, you can use ProtocolContext.create_timer():
# set target temperature
heat_task = hs_mod.set_target_temperature(75)

# pipette while the module heats
pipette.pick_up_tip()
pipette.aspirate(50, plate["A1"])
pipette.dispense(50, plate["B1"])

# wait for the module to finish heating
protocol.wait_for_tasks([heat_task])

# set and hold for a sample incubation
incubation_timer = create_timer(seconds=120)
protocol.wait_for_tasks([incubation_timer])
hs_mod.deactivate_heater()
Here, the robot will perform protocol steps placed after the concurrent set_target_temperature() command. Once the protocol reaches the ProtocolContext.wait_for_tasks() command, the robot pauses for two minutes while the module holds at 75 °C.
Shaking
The examples below use a blocking or concurrent command to set the Heater-Shaker Module to a shake speed of 500 RPM.
hs_mod.set_and_wait_for_shake_speed(500)
pipette.pick_up_tip()
pipette.aspirate(50, plate["A1"])
pipette.dispense(50, plate["B1"])
pipette.drop_tip()
protocol.delay(minutes=1)
In this example, no other commands will execute until the Heater-Shaker reaches a shake speed of 500 RPM with the blocking command set_and_wait_for_shake_speed(). Because reaching the shake speed takes much less time than heating the module, these actions will take only about 85 seconds total.
New in version 2.13.
hs_mod.set_shake_speed(500)
pipette.pick_up_tip()
pipette.aspirate(50, plate["A1"])
pipette.dispense(50, plate["B1"])
pipette.drop_tip()
protocol.delay(minutes=1)
When you use a concurrent command like set_shake_speed(), the robot will continue to perform pipetting steps and a protocol delay while the Heater-Shaker Module reaches the target shake speed.
New in version 2.27.
You can also use concurrent commands to heat and shake simultaneously. The amount of time it takes for the Heater-Shaker Module to reach either the target temperature or shake speed won’t affect other steps in your protocol. The concurrent set_target_temperature() and set_shake_speed() methods also allow some other simultaneous module actions. For more, see the Concurrent Module Actions section.
Deactivating
Deactivating the heater and shaker are done separately using the deactivate_heater() and deactivate_shaker() methods, respectively. There is no method to deactivate both simultaneously. Call the two methods in sequence if you need to stop both heating and shaking.
Note
The robot will not automatically deactivate the Heater-Shaker at the end of a protocol. If you need to deactivate the module after a protocol is completed or canceled, use the Heater-Shaker module controls on the device detail page in the Opentrons App.