

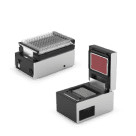
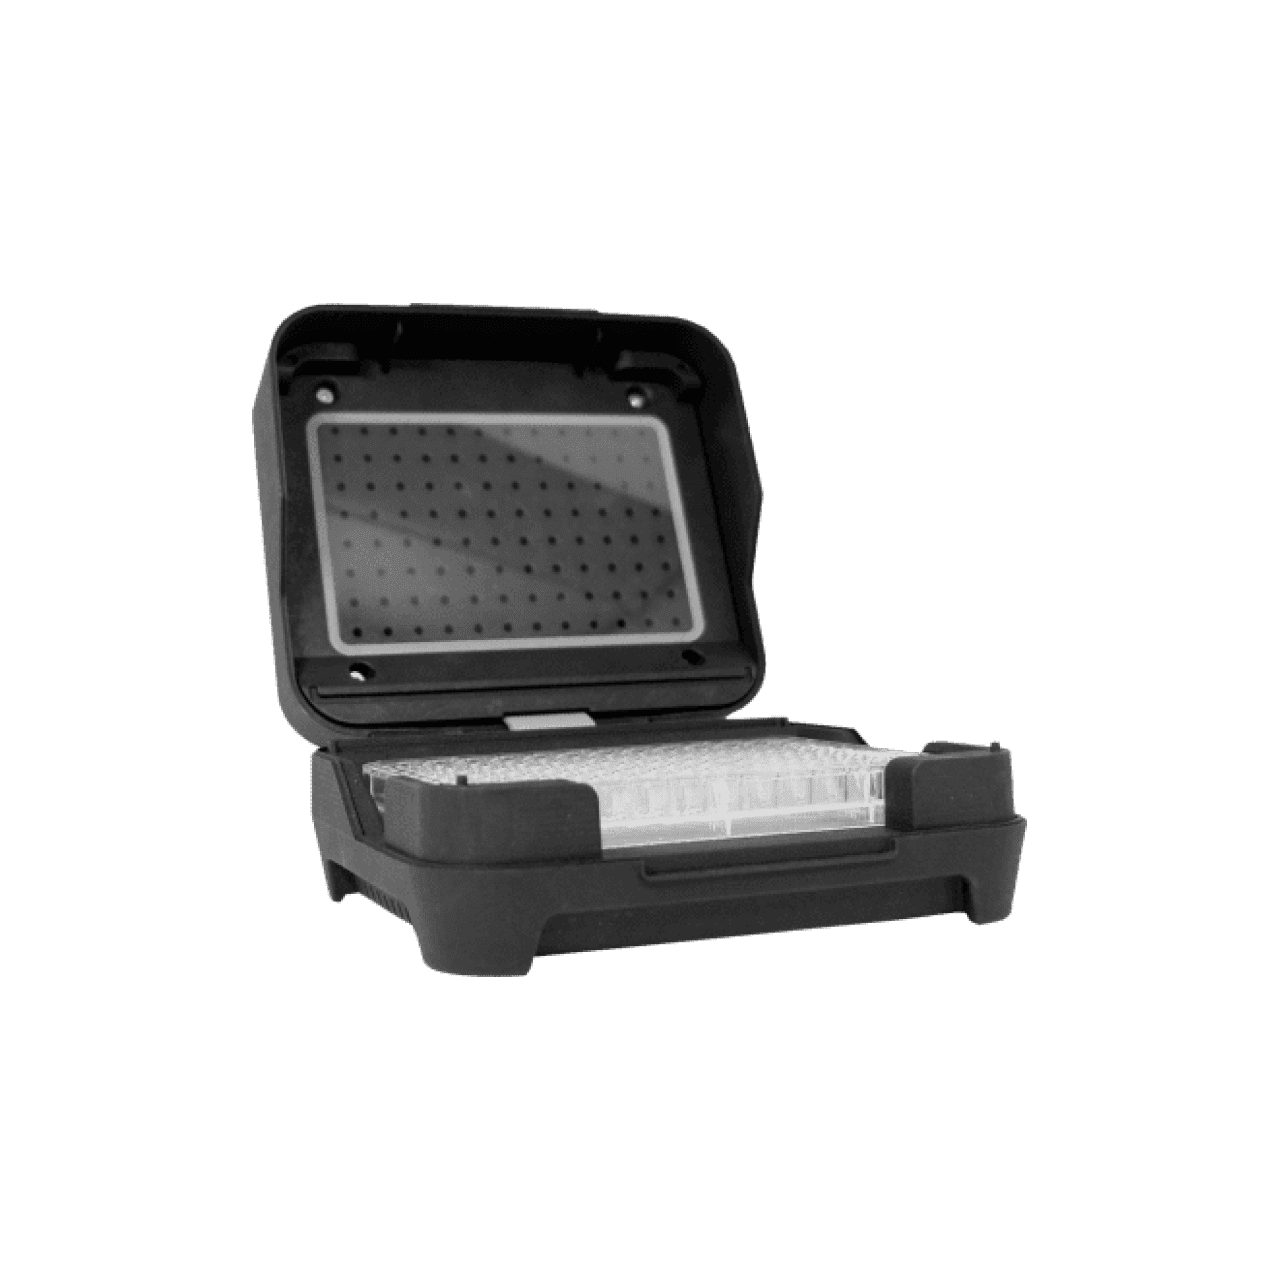


Temperature Module
The Temperature Module acts as both a cooling and heating device. It can control the temperature of its deck between 4 °C and 95 °C with a resolution of 1 °C.
The Temperature Module is represented in code by a TemperatureModuleContext object, which has methods for setting target temperatures and reading the module’s status. This example demonstrates loading a Temperature Module GEN2 on the deck.
temp_mod = protocol.load_module(
    module_name="temperature module gen2", location="D3"
)
New in version 2.3.
Loading Labware
Use the Temperature Module’s load_adapter() and load_labware() methods to specify what you will place on the module. You may use one or both of the methods, depending on the labware you’re using. See Loading Labware on Adapters for examples of loading labware on modules.
The Opentrons Labware Library includes definitions for both standalone adapters and adapter–labware combinations. These labware definitions help make the Temperature Module ready to use right out of the box.
Standalone Adapters
You can use these standalone adapter definitions to load Opentrons verified or custom labware on top of the Temperature Module.
Adapter Type |
API Load Name |
|---|---|
Opentrons Aluminum Flat Bottom Plate |
|
Opentrons 96 Well Aluminum Block |
|
Opentrons 96 Deep Well Temperature Module Adapter |
|
For example, these commands load a PCR plate on top of the 96-well block:
temp_adapter = temp_mod.load_adapter(
    "opentrons_96_well_aluminum_block"
)
temp_plate = temp_adapter.load_labware(
    "nest_96_wellplate_100ul_pcr_full_skirt"
)
New in version 2.15: The load_adapter() method.
Note
You can also load labware directly onto the Temperature Module. In API version 2.14 and earlier, this was the correct way to load labware on top of the flat bottom plate. In API version 2.15 and later, you should load both the adapter and the labware with separate commands.
Block-and-tube combinations
You can use these combination labware definitions to load various types of tubes into the 24-well thermal block on top of the Temperature Module. There is no standalone definition for the 24-well block.
Tube Type |
API Load Name |
|---|---|
Generic 2 mL screw cap |
|
NEST 0.5 mL screw cap |
|
NEST 1.5 mL screw cap |
|
NEST 1.5 mL snap cap |
|
NEST 2 mL screw cap |
|
NEST 2 mL snap cap |
|
For example, this command loads the 24-well block with generic 2 mL tubes:
temp_tubes = temp_mod.load_labware(
    "opentrons_24_aluminumblock_generic_2ml_screwcap"
)
New in version 2.0.
Block-and-plate combinations
The Temperature Module supports these 96-well block and labware combinations for backwards compatibility. If your protocol specifies an apiLevel of 2.15 or higher, you should use the standalone 96-well block definition instead.
96-well block contents |
API Load Name |
|---|---|
Bio-Rad well plate 200 µL |
|
Generic PCR strip 200 µL |
|
NEST well plate 100 µL |
|
This command loads the same physical adapter and labware as the example in the Standalone Adapters section above, but it is also compatible with earlier API versions:
temp_combo = temp_mod.load_labware(
    "opentrons_96_aluminumblock_nest_wellplate_100uL"
)
New in version 2.0.
Temperature Control
The primary function of the module is to control the temperature of its deck. As of API version 2.27, it provides both blocking and concurrent temperature commands to control how your protocol proceeds.
Both examples below set the target temperature to 4 °C. Each takes one parameter: celsius.
temp_mod.set_temperature(celsius=4)
pipette.pick_up_tip()
pipette.aspirate(50, plate["A1"])
pipette.dispense(50, plate["B1"])
pipette.drop_tip()
When you use the blocking start_set_temperature() command, the robot won’t begin performing other protocol steps until the Temperature Module reaches the target temperature. You can pipette to and from the module only when it is holding at a temperature or idle.
New in version 2.0.
temp_mod.start_set_temperature(celsius=4)
pipette.pick_up_tip()
pipette.aspirate(50, plate["A1"])
pipette.dispense(50, plate["B1"])
pipette.drop_tip()
Beginning with API version 2.27, you can use the concurrent start_set_temperature() method to move on to further commands while the Temperature Module reaches its target temperature. The method also allows some other simultaneous module actions. For more, see the Concurrent Module Actions section.
New in version 2.27.
Whenever the module reaches its target temperature, it will hold the temperature until you set a different target or call deactivate(), which will stop heating or cooling and will turn off the fan.
Note
Your robot will not automatically deactivate the Temperature Module at the end of a protocol. If you need to deactivate the module after a protocol is completed or canceled, use the Temperature Module controls on the device detail page in the Opentrons App.
Temperature Status
If you need to confirm in software whether the Temperature Module is holding at a temperature or is idle, use the status property:
temp_mod.set_temperature(celsius=90)
temp_mod.status  # "holding at target"
temp_mod.deactivate()
temp_mod.status  # "idle"
If you don’t need to use the status value in your code, and you have physical access to the module, you can read its status and temperature from the LED and display on the module.
New in version 2.0.
Changes with the GEN2 Temperature Module
All methods of TemperatureModuleContext work with both the GEN1 and GEN2 Temperature Module. Physically, the GEN2 module has a plastic insulating rim around the plate, and plastic insulating shrouds designed to fit over Opentrons aluminum blocks. This mitigates an issue where the GEN1 module would have trouble cooling to very low temperatures, especially if it shared the deck with a running Thermocycler.